Visualize schema
This example shows how to embed a draw.io schematic in a dashboard and bind its shapes dynamically to OnSphere values for real-time visual feedback.
Create boolean variables with
owner.variablesto represent the state of each interactive element.Design a Draw.io schematic and use
osp-textandosp-fill-colorproperties to bind shape appearance to value states.Use
osp-input-onclickwithosp.sendto toggle value states directly from schematic shapes.Declare the schematic as a
module.resourcesfile and link it to a Schematic widget in the dashboard.
git checkout origin/osp-web-configuration .
git checkout origin/osp-variables-configuration .
git checkout origin/example-dashboard-schematic .
Steps
1. Create a new empty dashboard
root/dashboards/schematics/dashboard.web
{
    "moduleId": "modules.web.web-1",
    "title": "Tutorial dashboard",
    "description": "Tutorial dashboard",
    "tags": ["Tutorial"]
}
root/dashboards/schematics/dashboard.view
{
    "configuration": [
    ],
    "layout": {
        "lg": []
    }
}
2. Create two values that we will use in the schema
root/variables/examples/light/light-1/owner.variables
{
    "moduleId": "modules.variables.variables-1"
}
root/variables/examples/light/light-1/value.ospp
{
    "name" : "Light state",
    "description" : "Current state of light",
    "type" : "BOOLEAN"
}
root/variables/examples/light/light-2/owner.variables
{
    "moduleId": "modules.variables.variables-1"
}
root/variables/examples/light/light-2/value.ospp
{
    "name" : "Light state",
    "description" : "Current state of light",
    "type" : "BOOLEAN"
}
3. Create a schematic
If you haven’t already, you should read the Schematic widget. The widget documentation tells you how to use vscode to define your schematic and how to add interaction to them.
As an example, we will see how to create a shape and set its color and text based on the value we created.
To change the color and text, we use the osp-text and osp-fill-color properties. We set them according to our value.
Osp-text
let text = 'Off';
if(${root.variables.examples.light.light-1}) {
text = 'On';
}
text;
Osp-fill-color
let color = '';
if(${root.variables.examples.light.light-1}) {
color = '#0F0';
}
color;
To change the value on the click, we set the osp-input-onclick and use osp.send properties to change the value.
Osp-input-onclick
let result = [];
let content = ('${root.variables.examples.light.light-1}' === 'true') ? false : true;
result.push({id:'root.variables.examples.light.light-1', content:content});
osp.send(result);
You can do the same for the second value. At the end, it should look like this.
root/schematics/example.drawio
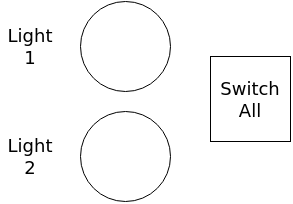
4. Create a resource for the schema
modules/web/web-1/module.resources
{
    "resources":
    [
        {
            "source":"root/schematics/example.drawio",
            "destination":"osp/resources/schematics/example-drawio.xml"
        }
    ]
}
5. Push the configuration to the osp-configuration-dispatcher
git add .
git commit -m "Add new dashboard"
git pull
git push
6. Login to the dashboard and select the previously created dashboard
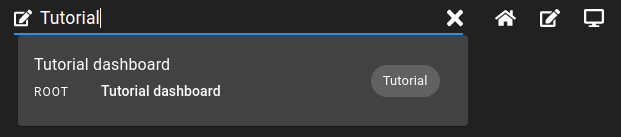
7. Click on the edit dashboard button and add a new “Schematic” widget
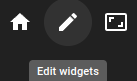
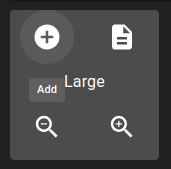
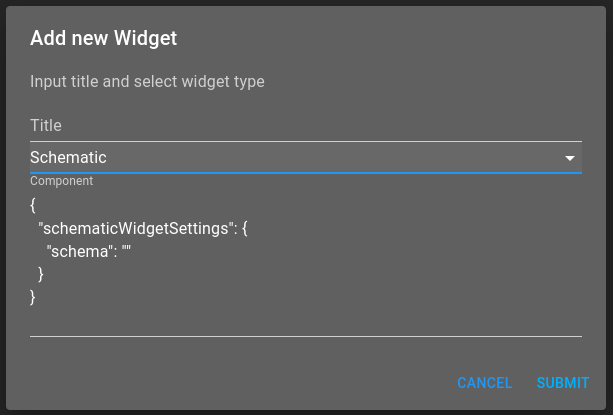
Click on the validate button.
9. From the edit view, click on the description button and copy its content
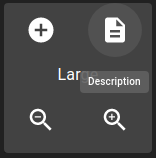
Add to the schema the link to the resource we created before. The link is the same as the one we defined for the destination. It should be something like
root/dashboards/schematics/dashboard.view
{
    "configuration": [
        {
            "type": "Schematic",
            "id": "a",
            "title": "Schematic example",
            "schematicWidgetSettings": {
                "schema": "osp/resources/schematics/example-drawio.xml"
            }
        }
    ],
    "layout": {
        "lg": [
            {
                "w": 12,
                "h": 4,
                "x": 0,
                "y": 0,
                "i": "a",
                "minH": 0
            }
        ]
    },
    "breakpoints": {
        "lg": 1200,
        "md": 996,
        "sm": 768,
        "xs": 480,
        "xxs": 0
    },
    "cols": {
        "lg": 12,
        "md": 10,
        "sm": 6,
        "xs": 4,
        "xxs": 2
    }
}
10. Replace the previous content of the dashboard.view file by the content copied in the previous step, and push the modifications
git add .
git commit -m "Add schematic widget"
git pull
git push
11. Refresh the dashboard
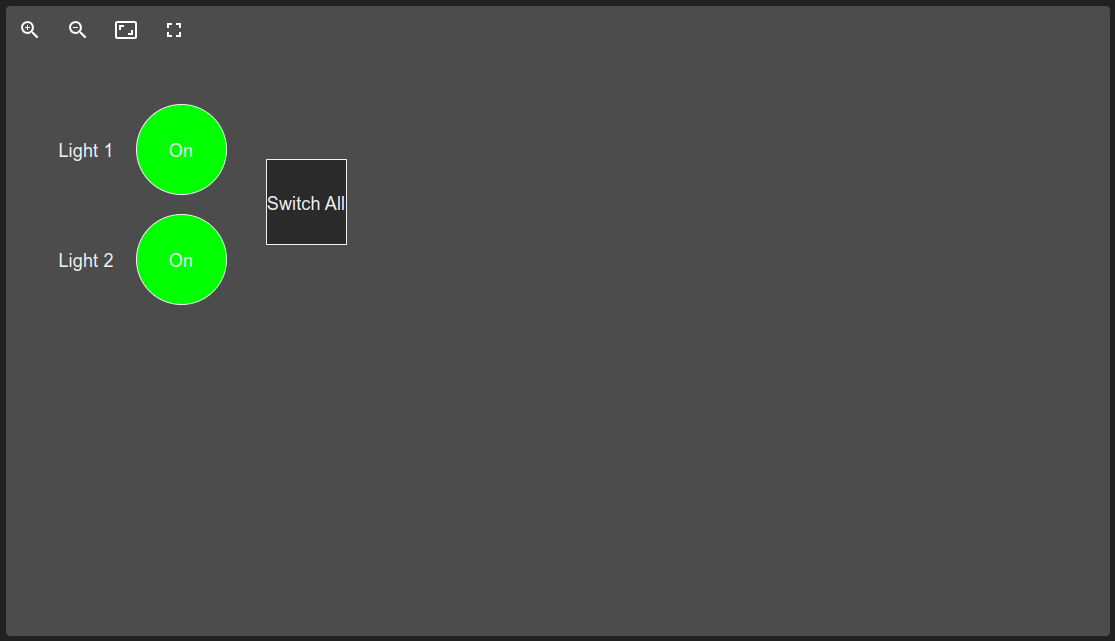
Add this example in your configuration
You can directly use the following command to add this example into your configuration :
git checkout origin/example-dashboard-schematic .