Create an user and setup is access rights
This example shows how to create a user, assign them to a group, and restrict their access to specific dashboards using role-based access control. No downloadable configuration example is provided for this page — follow the steps below manually.
Create a Keycloak group and map it to OnSphere access rights using the rights module.
Create a user via the Keycloak admin console or the
users.keycloakconfiguration file and assign them to the group.Define per-dashboard
access.rightsfiles to restrict visibility to specific groups.Verify that each user only sees the dashboards permitted for their group.
git merge origin/osp-web-configuration
git checkout origin/osp-keycloak-configuration .
Steps
1. Initial setup
git pull
git merge origin/osp-web-configuration
2. Create the group
With the configuration
Open the
/modules/keycloak/keycloak-1/groups.keycloakfileCreate the new group:
{
    "groups": [
        {
            "attributes": {},
            "clientRoles": {},
            "name": "collaborator",
            "path": "/collaborator",
            "realmRoles": [],
            "subGroups": []
        }
    ]
}
With the front-end
Connect to Keycloak
With the administrator
Access the Keycloak administration console
https://{stack_ip}:{stack_port}/auth/admin(for example https://stack-1.onsphere.local:5000/auth/admin)Login to Keycloak administration console using administration user and password configured when the stack was deployed (see System security)
With a user member of the
administratororuser-managementgroup
Access the OnSphere front-end
https://{stack_ip}:{stack_port}/(for example https://stack-1.onsphere.local:5000/)On the side menu click on the
Manage usersbutton !
Go to the
Groupstab underManagecategoryClick on
NewEnter the group name
collaboratorand clickSave
3. Map the group to OnSphere
Open the
/modules/rights/rights/rights.modulefileCreate the new mapping for the
collaboratorsandadmin:
{
    "messagingConfiguration": {
        "clientId": "osp-rights",
        "host": "rabbit"
    },
    "groups": [
        {
            "name": "all",
            "description": "Access all value",
            "externalLink": [
                "data-access",
                "configuration-management"
            ]
        },
        {
            "name": "collaborator",
            "description": "",
            "externalLink": [
                "collaborator"
            ]
        },
        {
            "name": "admin",
            "description": "",
            "externalLink": [
                "administrator"
            ]
        }
    ]
}
Warning
By default the
externalLinkused the name of the group as it’s identifier.It is possible to change this behavior to use the full path by editing the
realm.keycloakavailable on theosp-keycloak-advanced-configurationbranch.The
protocolMappersnamedUser groupsneed to be edited to changeconfig.full.pathto true. There are two of them by default.
4. Create the user
With the configuration
Open the
/modules/keycloak/keycloak-1/users.keycloakfileCreate the new user:
{
  "users": [
    {
      "enabled": true,
      "groups": [
        "/collaborator"
      ],
      "username": "example",
      "email": "example@localhost",
      "firstName": "example",
      "lastName": "example",
      "credentials": [
        {
          "initial": true,
          "temporary": true,
          "type": "password",
          "value": "mysuperpassword"
        }
      ],
      "attributes": {
        "authorizedKeys": [
          "ssh-key"
        ],
        "apiKey": "simple-api-key"
      }
    }
  ]
}
With the front-end
Connect to Keycloak
With the administrator
Access the Keycloak administration console
https://{stack_ip}:{stack_port}/auth/admin(for example https://stack-1.onsphere.local:5000/auth/admin)Login to Keycloak administration console using administration user and password configured when the stack was deployed (see System security)
With a user member of the
administratororuser-managementgroup
Access the OnSphere front-end
https://{stack_ip}:{stack_port}/(for example https://stack-1.onsphere.local:5000/)On the side menu click on the
Manage usersbutton !Go to the
Userstab underManagecategoryClick on
Add userEnter a username and click
SaveGo to the
CredentialstabDefine a password for the user and click
Set PasswordGo to the
GroupstabIn the
Available groupspanel, select the groupcollaboratorand clickJoin
5. Create the dashboard and the access file
_root/examples/dashboard/admin/dashboard.view_
{
    "configuration": [
    ],
    "layout": {
        "lg": []
    }
}
_root/examples/dashboard/admin/dashboard.web_
{
    "moduleId": "modules.web.web-1",
    "title": "Admin dashboard",
    "description": "Admin dashboard",
    "tags": ["Admin"]
}
_root/examples/dashboard/admin/access.rights_
{
    "moduleId": "modules.rights.rights",
    "write": {
        "override": [
            "admin"
        ]
    },
    "read": {
        "override": [
            "admin"
        ]
    }
}
_root/examples/dashboard/collaborator/dashboard.view_
{
    "configuration": [
    ],
    "layout": {
        "lg": []
    }
}
_root/examples/dashboard/collaborator/dashboard.web_
{
    "moduleId": "modules.web.web-1",
    "title": "collaborator dashboard",
    "description": "collaborator dashboard",
    "tags": ["collaborator"]
}
_root/examples/dashboard/collaborator/access.rights_
{
    "moduleId": "modules.rights.rights",
    "write": {
        "override": [
            "collaborator"
        ]
    },
    "read": {
        "override": [
            "collaborator"
        ]
    }
}
6. Push the new configuration
git add .
git commit -m "Creating new user with access"
git pull
git push
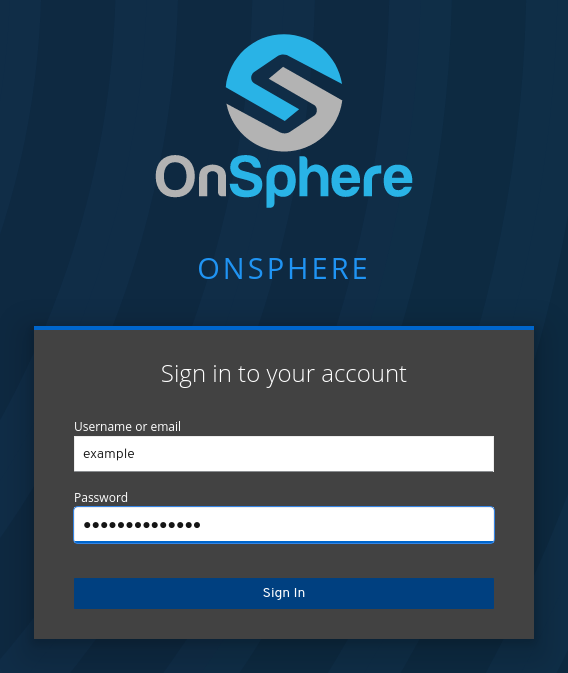
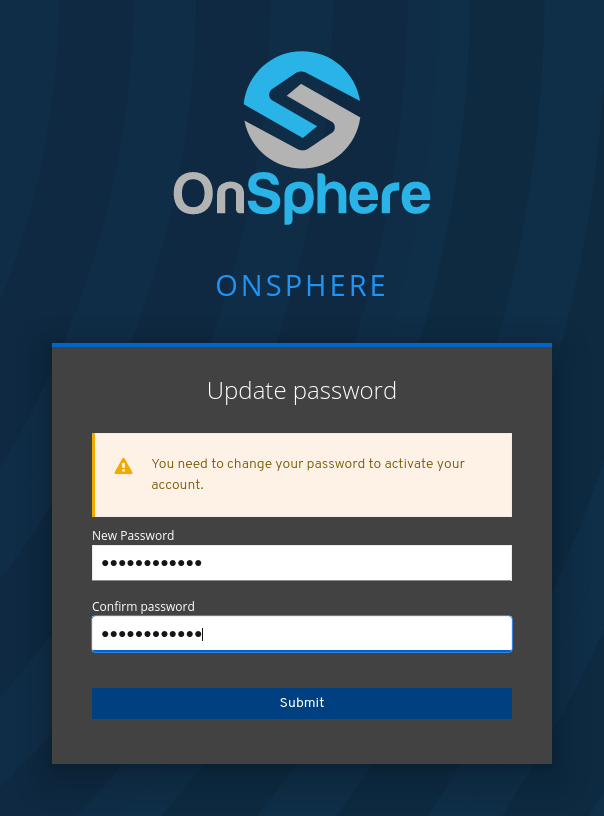
7. Connect on OnSphere with the new user