Use menus to upload file as attachments on alarmsο
This example aims to demonstrate how you could use a combination of menus and scripts to upload and attach files into an alarm.
Define an
upload.osppto restrict accepted file types (e.g.,image/png).Create an upload menu that uses an upload prompt and passes the resulting file identifiers to a script that patches the alarmβs
additionalData.Define a visualize menu that uses the
attachmentsoutput to open a preview modal.Add an
ATTACHMENTcolumn in a view definition to display attachments directly in the alarm table.
git checkout origin/osp-alarms-configuration .
git checkout origin/osp-web-configuration .
git checkout origin/osp-storage-configuration .
git checkout origin/osp-scripts-configuration .
git checkout origin/example-dashboard-alarm-table-upload-menus .
Stepsο
1. Define the upload menuο
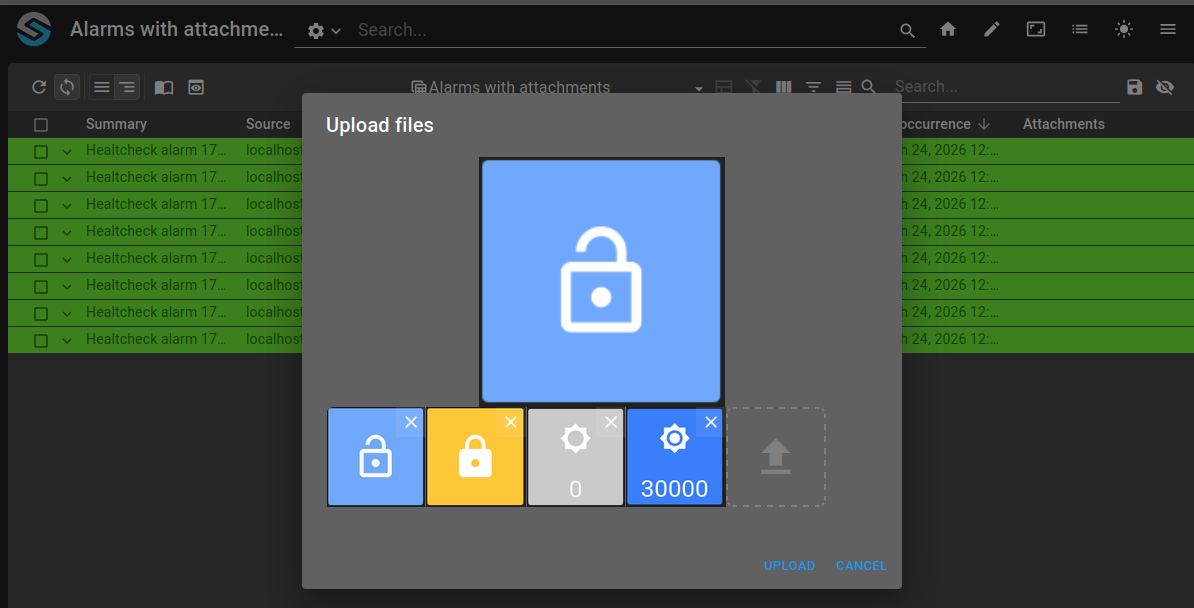
To allow the user to pick and upload files, we will use an upload prompt and retrieve the result to send it to a script. The script will then edit the alarm to set the additional data with the results from the file upload. The upload prompt attempts to upload the files and returns a list of string identifiers if the operation was successful.
First, we need to create a upload.ospp to configure the upload. In this example, we will only allow image/png.
root/alarms/upload/upload.ospp
{
"moduleId": ["modules.web.web-1"],
"authorizedContentTypes": [
"image/png"
],
"storageConfiguration": {
"host": "osp-storage",
"port": 8443
}
}
Then, we will define the script to edit the alarm. We should expect the list of alarms to edit as well as the list of attachments identifiers.
root/upload/upload_attachments.js
function main() {
const parameter = trigger.parameters[0];
const alarmsIds = parameter.alarmsIds ?? [];
const attachments = parameter.attachments ?? [];
alarmsIds.forEach(element => {
alarms.editAdditionalData(element, {attachments: [...attachments]})
});
}
main();
With both the upload.ospp and the script, we can finally define our menu:
root/alarms/menus/attachments/menu.web
{
"label": "Upload attachments",
"icon": "add",
"context": [
{
"type": "AlarmTable",
"action": "root.alarms.actions.run_script",
"condition": "${alarms.selected}.length > 0",
"input": {
"scriptId": "root.upload",
"attachments": {
"prompt": {
"type": "ATTACHMENTS",
"uploadId": "root.alarms.upload"
}
},
"alarmsIds": {
"extract": "alarms.selected[*]._id"
}
}
},
{
"type": "AlarmTable",
"action": "root.alarms.actions.run_script",
"condition": "${alarms.selected}.length === 0 && ${alarms.clicked}",
"scopes": ["Click"],
"input": {
"scriptId": "root.upload",
"attachments": {
"prompt": {
"type": "ATTACHMENTS",
"uploadId": "root.alarms.upload"
}
},
"alarmsIds": {
"extract": "alarms.clicked._id"
}
}
}
]
},
2. Define the visualize menuο
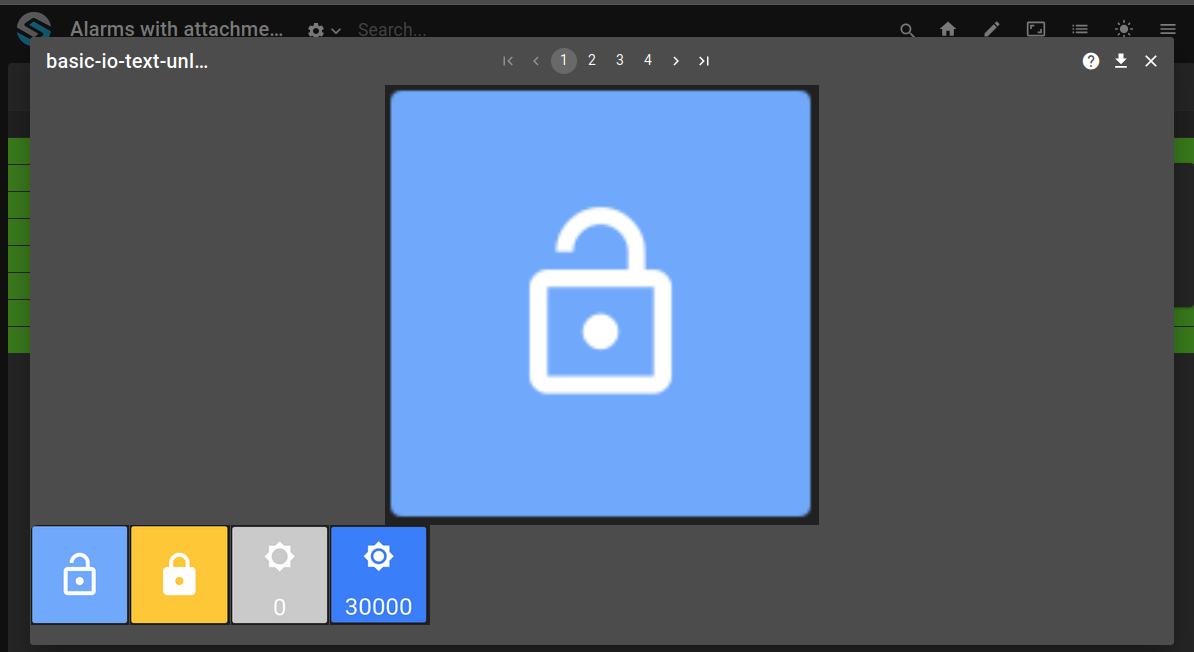
The second menu makes use of the attachments output to display the attachments of the alarm inside a preview modal.
For this menu, we donβt need to define anything else first. We can reuse the same upload.ospp as for the upload prompt.
root/alarms/menus/attachments/menu.web
{
"label": "Visualize attachments",
"icon": "preview",
"context": [
{
"type": "AlarmTable",
"condition": "${alarms.selected}.length > 0",
"output": [
{
"operation": "attachments",
"input": {
"attachments": {
"extract": "alarms.selected[*].additionalData.attachments[*]"
},
"uploadId": "root.alarms.upload",
"previewBehavior": "SHOW_ALL",
"previewShowNavigation": true
}
}
]
},
{
"type": "AlarmTable",
"condition": "${alarms.selected}.length === 0",
"output": [
{
"operation": "attachments",
"input": {
"attachments": {
"extract": "alarms.clicked.additionalData.attachments[*]"
},
"uploadId": "root.alarms.upload",
"previewBehavior": "SHOW_ALL",
"previewShowNavigation": true
}
}
]
}
]
}
3. Define a view to display the attachments on a tableο
In addition to the menu, we will also create a view that will contain a ATTACHMENT column to display directly the attachments on an alarm table.
We need a column with the ATTACHMENT and the upload.ospp we created earlier as an option of this column.
root/alarms/views/with_attachments/view.ospp
{
"name": "Attachments",
"field": "additionalData.attachments"
}
root/alarms/views/with_attachments/view.web
{
"name": "Attachments",
"render": "ATTACHMENT",
"position": 11,
"options": {
"previewBehavior": "SHOW_ALL",
"uploadId": "root.alarms.upload"
}
}
4. Interact with the menu on a tableο
Create a dashboard with an alarm table and set the menu we created to the table. Then, on your dashboard, you should be able to use the menu.
Uploading filesο
On an alarm, right click should give you the upload menu. Upon using it, the prompt should appear.
View attachmentsο
We can either view attachments using the button on the attachments column or use the menu.
The button first display a list like:
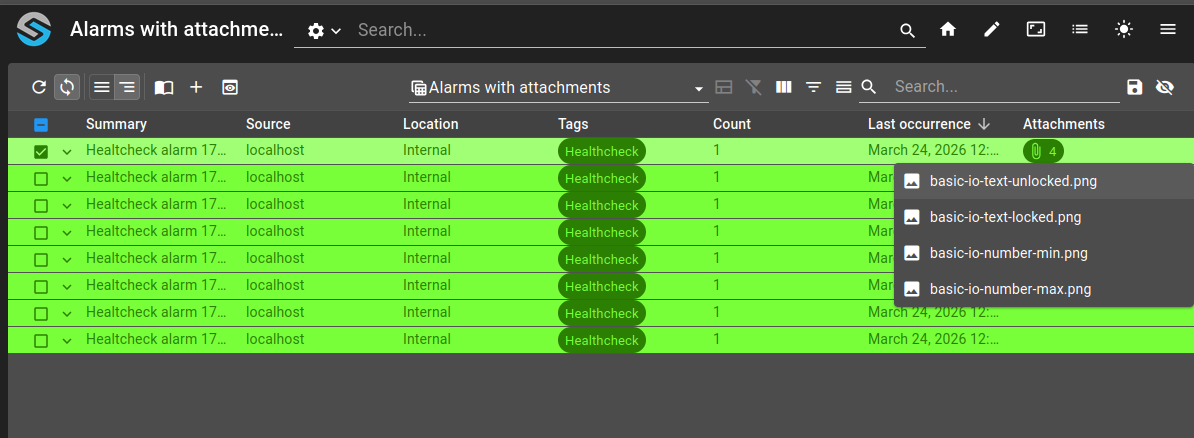
Using the menu or clicking on one of the elements here will open the preview.