Include Draw.io library on schematics
This example will show you how to share Draw.io asset for a Schematic.
Create a custom shape in app.diagrams.net and export it as a Draw.io library file.
Convert the exported XML to the MxGraph-compatible format required by OnSphere.
Load the library asset directly in the VS Code extension or via
.vscode/settings.json.Use the custom shape in any schematic widget like any built-in asset.
git checkout origin/osp-web-configuration .
git checkout origin/example-dashboard-use-drawio-library .
Steps
1. Create an asset
Go to app.diagrams.net
Create a new project.
On the file menu select
New libraryand thendevice. This will create a new shape folder on the left.Create an asset. For example:
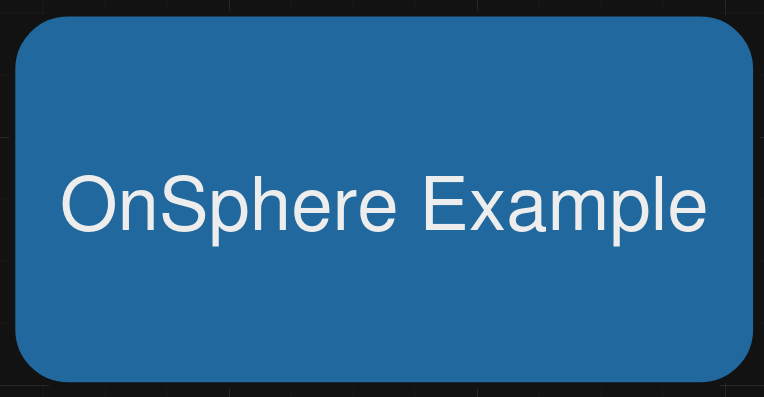
Select the asset and drag it on the previously created library.
Click on the pen and add a name to the asset.
Click save to download it.
2. Convert to created asset
Unfortunately, the format is not compatible with our MxGraph version but the conversion is simple.
On the downloaded file, extract the xml field.
Replace
<with<Replace
>with>Replace
\"with"The original content .. code-block:
<mxGraphModel><root><mxCell id=\"0\"/><mxCell id=\"1\" parent=\"0\"/><mxCell id=\"2\" value=\"&lt;div&gt;OnSphere Example&lt;/div&gt;\" style=\"rounded=1;whiteSpace=wrap;html=1;strokeColor=#FFFFFF;fillColor=#62b6f3;gradientColor=none;fillStyle=solid;\" vertex=\"1\" parent=\"1\"><mxGeometry width=\"120\" height=\"60\" as=\"geometry\"/></mxCell></root></mxGraphModel>
should become .. code-block:
<mxGraphModel><root><mxCell id="0"/><mxCell id="1" parent="0"/><mxCell id="2" value="OnSphere Example" style="rounded=1;whiteSpace=wrap;html=1;strokeColor=#FFFFFF;fillColor=#62b6f3;gradientColor=none;fillStyle=solid;" vertex="1" parent="1"><mxGeometry width="120" height="60" as="geometry"/></mxCell></root></mxGraphModel>
Once done you can encode it with the converter tools
jVFLbsMgED0NewckHyDOZ1V14RPQMjGow0djUju3L4ZJ0i4iFQmJeR8080aowa9n0sm+RQMo1FGogWLM7eXXARCF7JwR6iCk7MoV8vSC3VW2S5og5P8YZDN8a7xCQ97DmCwQFPS4ap8QmmTON2QJxWswsP2wE2q/WJdhTPpzY5cyScFs9sj0nCl+wRAxUnWrUz2FuTjEX3gvP/qLKvhE2rjS/50LMQDLR25ijrhNsOfugTKsLxOoEI9/hugh061IFmeyZQWn1Flwk2Vbz5ieWz09rM88y4MjvZfP1VXuz2Z/AA==
Finally, replace the xml string with the new value.
1. Add an asset to a Draw.io
Note
The example assets created previously is saved under drawio-libs/onsphere.xml.
Include the asset directly on the extension (Not propagate between integrator)
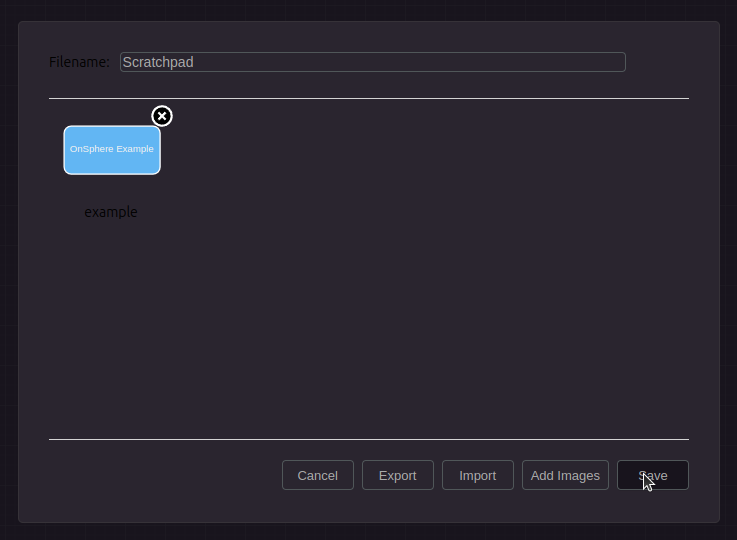
Click on the pen to include the asset.
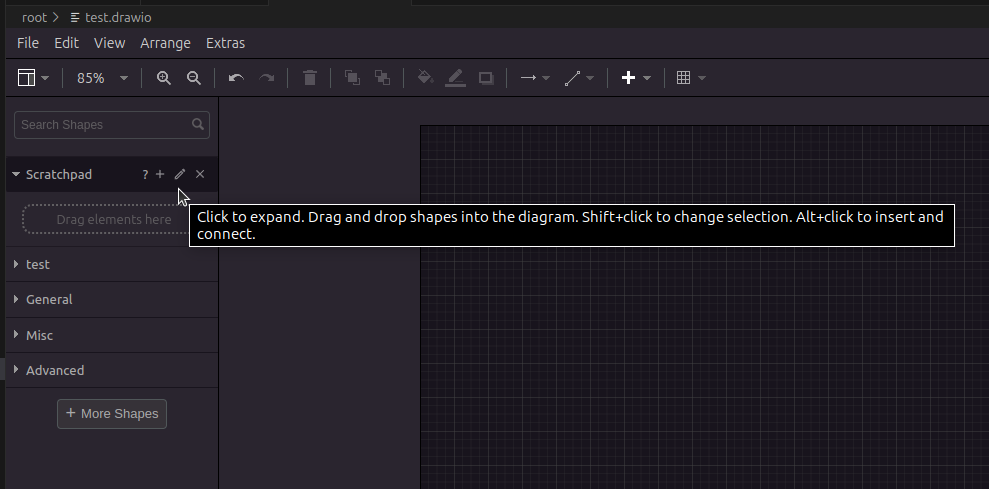
Click on Import and select the wanted file.
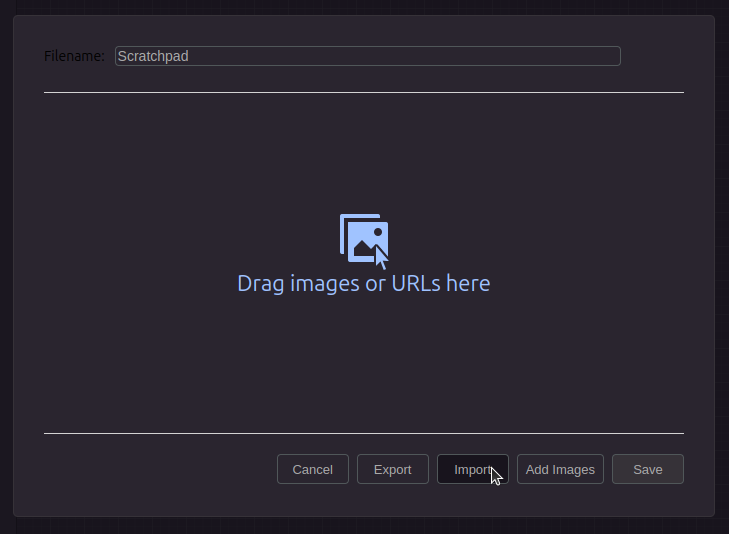
Click on Save to finalize the import.
Include the asset with the configuration of the extension
Open the
.vscode/settings.jsonand add the following content depending on where you have exported the asset.{ "hediet.vscode-drawio.customLibraries": [ { "file": "${workspaceFolder}/drawio-lib/onsphere.xml", "libName": "OnSphere", "entryId": "onsphere" } ] }
1. Use the asset
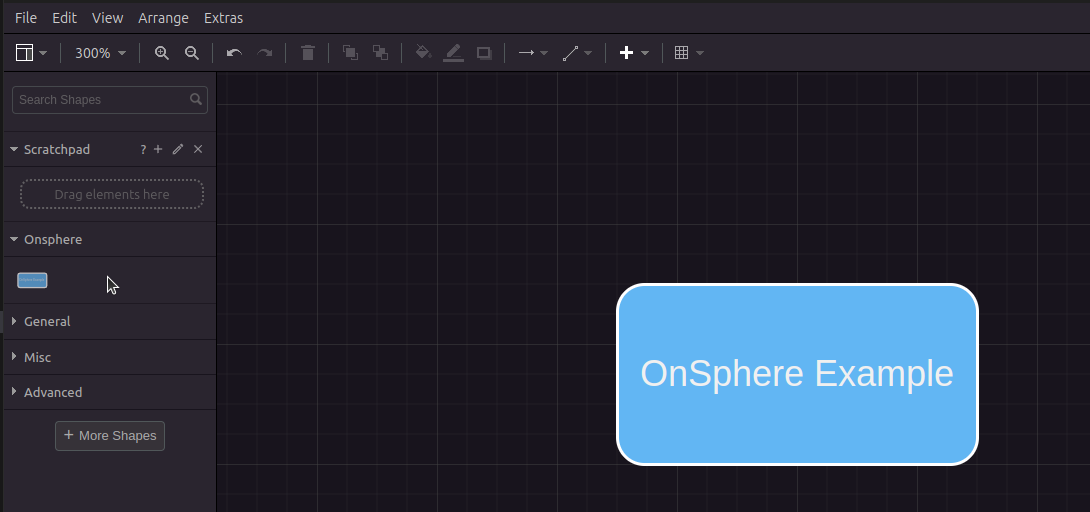
The newly loaded asset can be used as any other one already existing.
If they are missing:
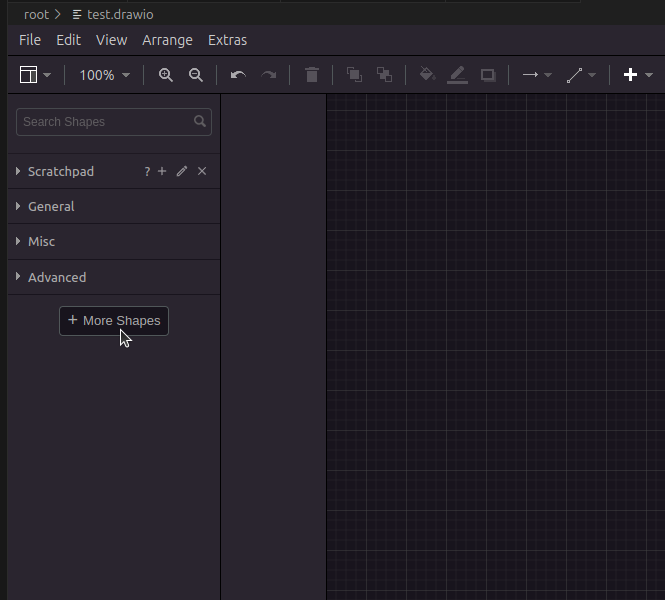
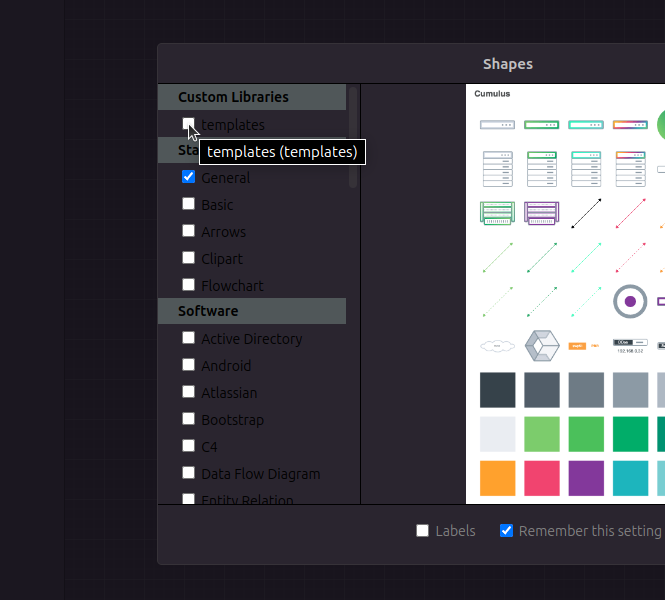
You can display them by clicking on + More Shapes and selecting the wanted library (The one added via settings.json are shown under Custom Libraries).