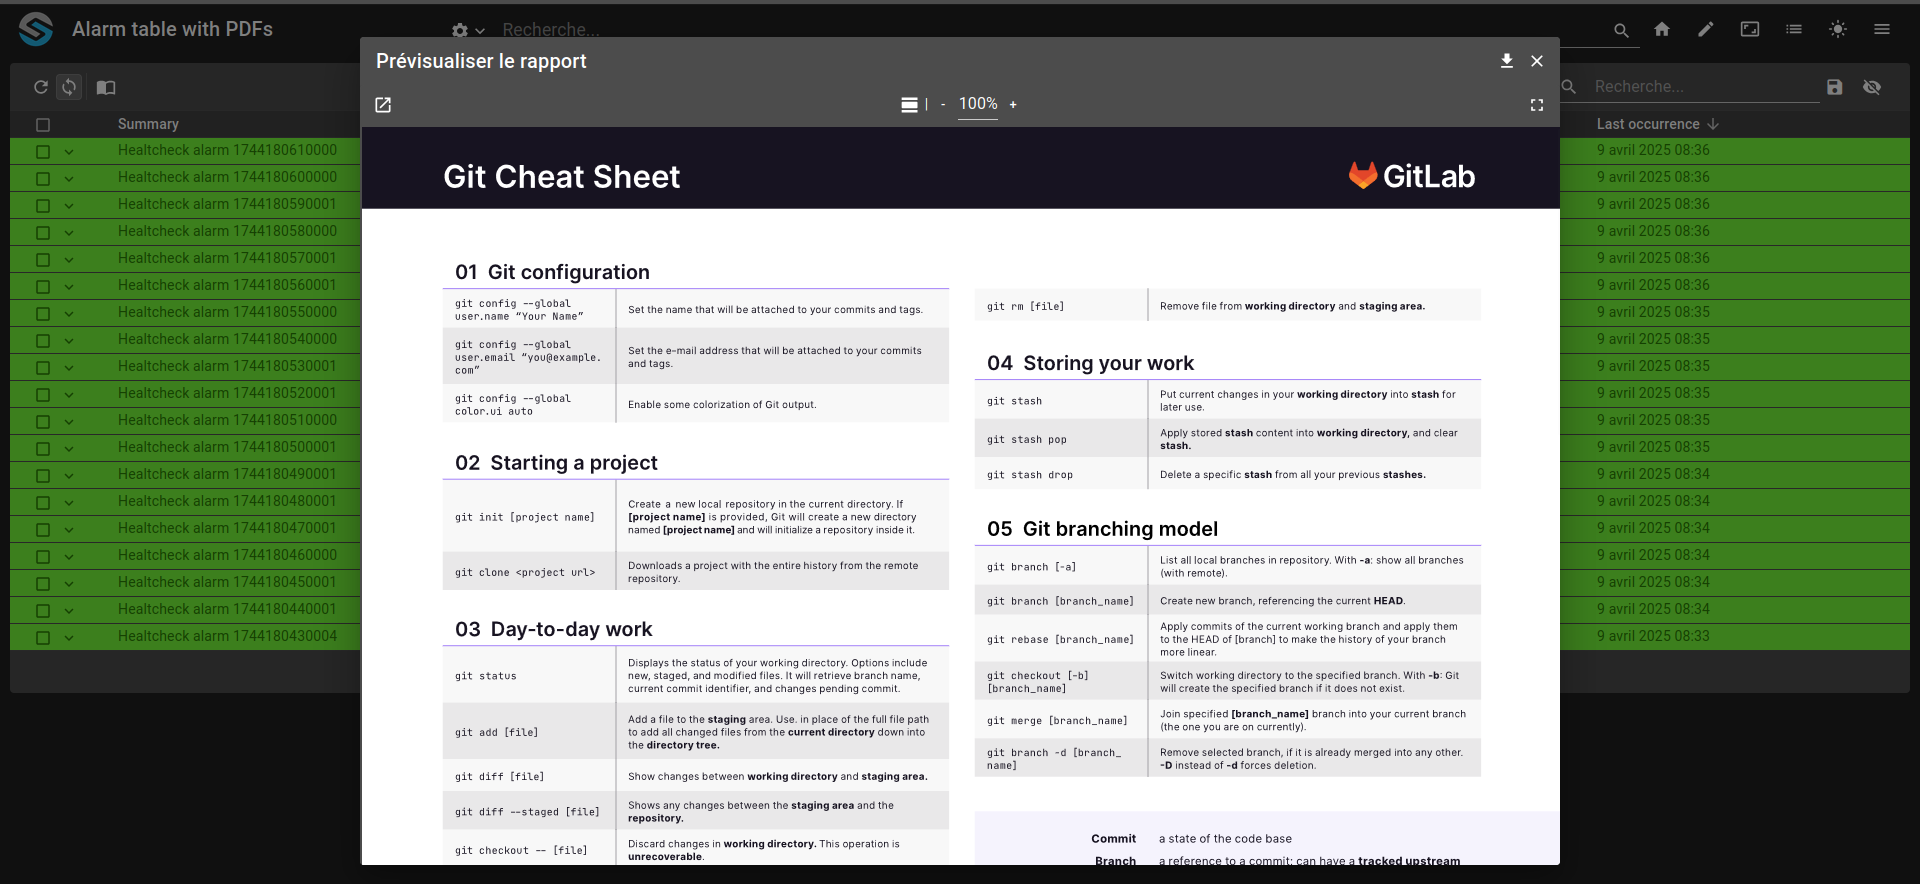
Display PDF from a menu of an AlarmTable
This example shows how to define a menu in order to show a PDF file from the configuration on an interaction with an alarm table.
Declare the PDF as a web module resource and note its destination path.
Create a menu using a
previewoutput that opens the PDF in a modal dialog.Add the menu to an alarm table widget in the dashboard.
Right-click an alarm row to trigger the menu and verify the PDF is displayed.
git checkout origin/osp-alarms-configuration .
git checkout origin/osp-web-configuration .
git checkout origin/example-dashboard-pdf-with-alarm-table .
Steps
1. Declare the PDF in the web module resources
In order to load the PDF, it needs to be defined as a module web resource. Define it as the following, the destination path will be used later for the menu action.
modules/web/web-1/module.resources
{
    "resources":
    [
        {
            "source":"root/pdf/example.pdf",
            "destination":"osp/resources/pdfs/example.pdf"
        }
    ]
}
3. Create the dashboard with the alarm table
In the dashboard, we want an alarm table with the previously created menu.
root/dashboard/dashboard.view
{
    "configuration": [
      {
        "type": "AlarmTable",
        "id": "aQEoDuEk",
        "title": "",
        "options": {
          "userPreference": "LOCAL_STORAGE"
        },
        "menuReferences": [
          "root.pdf.menu"
        ],
        "alarmWidgetSettings": {
          "defaultFilter": "root.alarms.filters.all",
          "defaultView": "root.alarms.views.default"
        }
      }
    ],
    "layout": {
      "lg": [
        {
          "w": 12,
          "h": 4,
          "x": 0,
          "y": 0,
          "i": "aQEoDuEk"
        }
      ]
    },
    "breakpoints": {
      "lg": 1200,
      "md": 996,
      "sm": 768,
      "xs": 480,
      "xxs": 0
    },
    "cols": {
      "lg": 12,
      "md": 10,
      "sm": 6,
      "xs": 4,
      "xxs": 2
    },
    "rowHeight": 150
  }
4. Navigate to the dashboard
Load the dashboard and you should see the alarm table. Once an alarm is present, right-click on the row to open the menu and to display the PDF.